Nutcracker Whimsical GLOW UP: How to Add Whimsy to a Cheap Store-Bought Nutcracker
- Tracey Bellion
- Dec 15, 2024
- 4 min read
Updated: Dec 21, 2024
When it comes to holiday decor, nutcrackers are a timeless classic. But let's be honest....not every nutcracker you see in the store fits the vibe of your home. Luckily, that's where a little creativity and paint comes in!
In this blog post, I'm going to show you how to take a brand new, store-bought nutcracker and give it a whimsical glow-up that fits your unique holiday style.

If you are a new reader, hello and welcome to the Fancy Fam! With over a decade of furniture painting experience, I can honestly say that sharing my projects through this blog is still my favorite way to inspire! I've got years worth of fun and creative ways to update your home decor and furniture through paint! If this sounds like something you'd like to have delivered to you every Sunday be sure to sign up for my weekly newsletter here!
The Design Plan
My client loved the size of this nutcracker that she found at a home decor store.

However.....she really wanted to add whimsy and color to tie it into her own home's festive look. She asked me to add red, black and white....and to make sure I included my favorite patterns of checks, stripes and harlequin!
Supplies Used: Whimsical Nutcracker Glow Up
Pencil
Heat Gun (optional but speeds the process)
You can also shop my favorite products and tools in my Amazon influencer list here.
This post may contain affiliate links. I could make a commission at no charge to you if you purchase my recommended products. Please read my disclosure here and my privacy policy here.
How to Glow Up a Store Bought Nutcracker
Here are the step-by-step instructions to glow-up your store bought nutcracker.
1. Choose your Color Palette
Before you start painting, decide on a color palette and gather your supplies.
2. Prep your Nutcracker
Wipe down your nutcracker with a damp cloth to remove any dust. If the surface is glossy, you will want to scuff sand and paint a layer of primer to help the paint to adhere better.
This particular nutcracker had a gold rough textured surface so I did not need to prime.
3. Paint the Base Layer
Start with the larger areas like the jacket, pants, shoes, and face.
Chalk mineral paint is perfect for this because it offers great coverage and dries quickly.
Apply one or two coats allowing each layer to dry completely.

4. Add the Whimsical Details
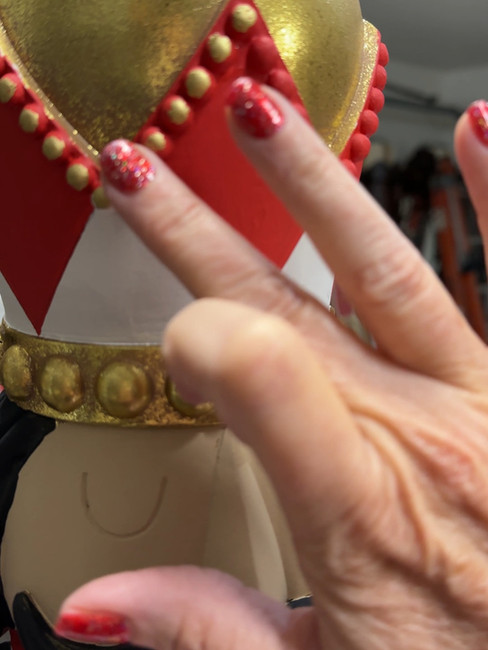
This is where your nutcracker comes to life. Use small brushes to add intricate designs like stripes, checks and even harlequin shapes.
Metallic gold accents always look good....so I left the buttons and some of the trim in its original gold.

However the trim around the crown I had to paint over. It was just easier to do it this way. Once painted I used Gold Gilding Wax and applied it with my finger to the little button trim.
5. Seal your work
Once the paint is dry, apply a clear sealer to protect your design and give it a finished look.

I usually top coat with satin....but for my whimsical holiday finishes I really like a high shine! So this time I chose to use a gloss!
The Finished Look: Whimsical Nutcracker Glow Up
My client's nutcracker is now ready to shine! The glow up is complete! No matter where she chooses to display him....he's sure to steal the show!

The beauty of this project is you can create an entire collection!

The next time you're out shopping and see a nutcracker that's "almost right"....grab it and let your creativity do the rest! There really is nothing more satisfying than turning something ordinary into something extraordinary!

Have you given a nutcracker a makeover yet? I'd love to see your creations! Tag me on Instagram @TraceysFancy and share your holiday glow-ups!
More Inspiration: Nutcrackers! And More Nutcrackers!
I pulled a few blogs from past projects that came to mind when working on this piece! Who knew I had so many nutcracker projects to share. Here are the additional designs for your inspiration:
Nutcracker Entry Table - let's make Christmas furniture a thing
Whimsical Nutcracker Chair - a showstopper that I kept for myself!
Life Size Nutcracker Makeover - y'all...this this is huge!
Meet Kirk & Kyle - an easy DIY nutcracker glow up project
Click on any photo below for more up-close photos and all the design details
Even More Inspiration: Christmas Furniture and Decor
Christmas projects are so fun to make and I have so many to share! I hope you can use them to draw inspiration for your upcoming project.
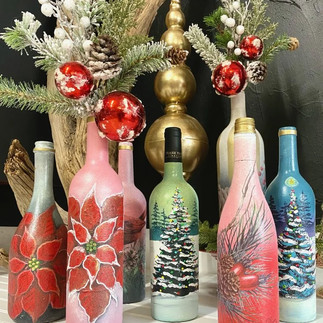
Holiday Themed Wine Bottles - an quick and easy hostess gift with a big impact
Whimsical Christmas Decorations - learn how to make your own whimsy tree
Christmas Gumball Machine - elf gumball machine for more holiday cheer
Christmas Wonderland Globe - vintage globe turned wonderland
Tiny Whimsical Table - with holiday holograph table top
Santa Desk - a red beauty for Santa himself
Click on any photo below for more up-close photos and all the design details
JOIN ME FOR MORE...with Curiously Creative
If you enjoyed this and want more of a deep dive into home decor and DIY processes, I would love it if you joined my exclusive online creative group, Curiously Creative. I show up LIVE to guide you through every step of updating, upcycling, crafting, and creating on-trend home decor and gift-giving ideas!
Want more fancy furniture & design?
Save & Share on Pinterest!
Please please please share my nutcracker whimsical glow up project and follow me on Pinterest!


